JSONBin.io
To enable JSONBin.io Sync for your file, follow these steps:
- You will first need to register an account on JSONBin.io by visiting their website.
- Once created, click on your avatar and select
API Keys. Locate yourSecretKey and copy it. - Then, in the Tokens Studio for Figma plugin, go to the
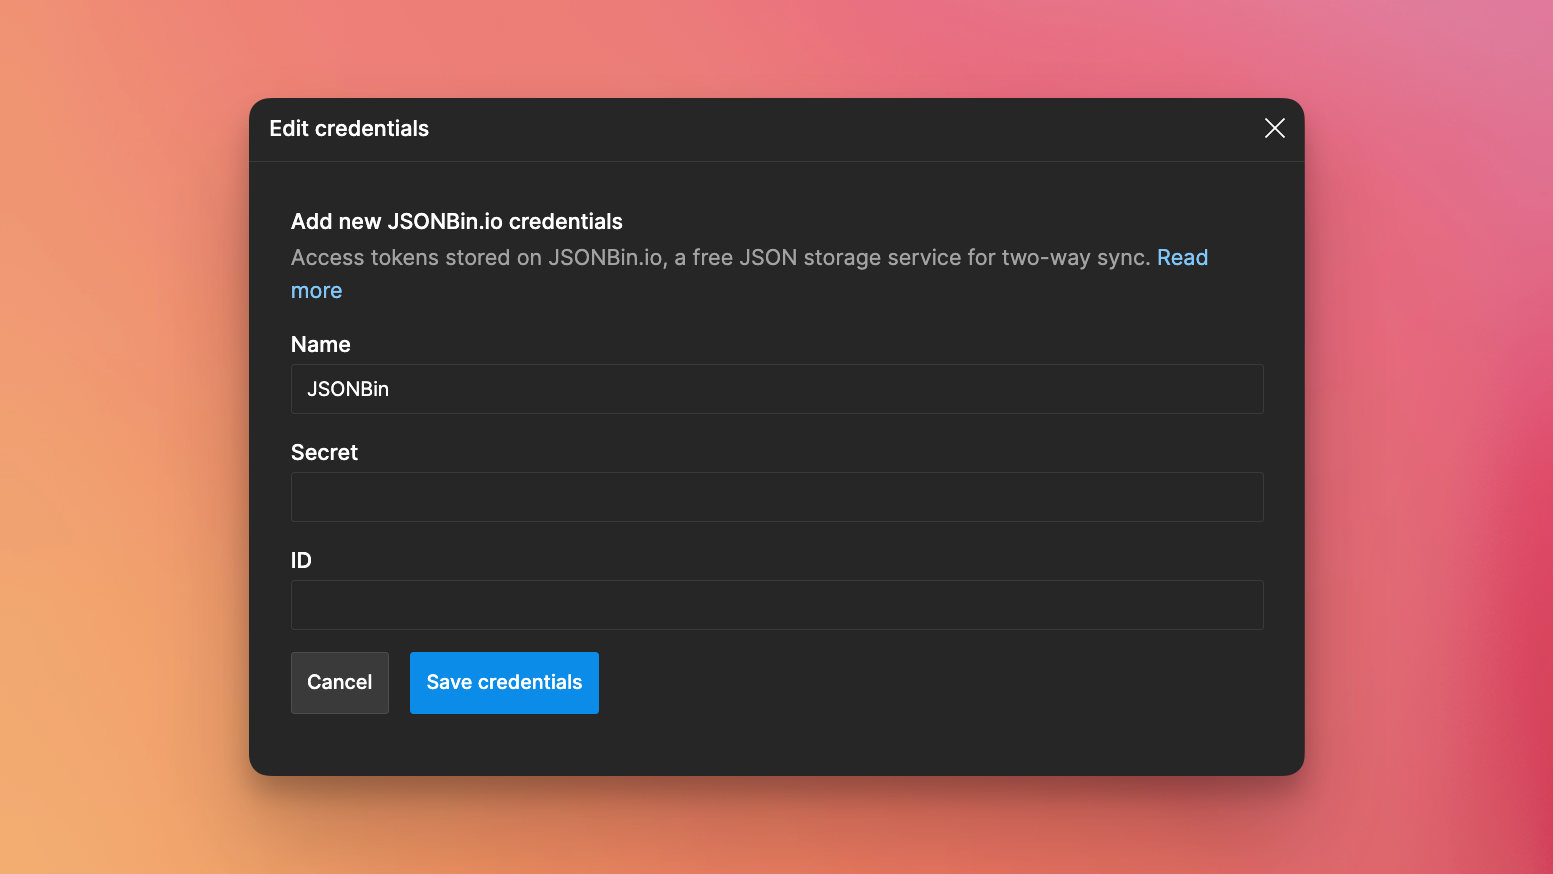
Settingstab. Add New, and then choose JSONBin as your Sync Provider.- Enter a name
- Past your Secret Key into the
Secretfield. - Save Credentials to add your json BIN!
If you want to create a new sync bin, leave the ID field blank. The plugin will generate a new bin for you. Alternatively, you can enter an existing ID to link to an already created bin.
When creating a new bin, your tokens get uploaded to that bin. However, when using an existing ID, the tokens stored on the remote will overwrite your existing ones.

Getting your team on board
Once you have set a storage provider on a document in the plugin, the ID and name of your bin will be stored within that document. However, the Secret field will be left blank for each team member as it requires them to add their own secret. This approach allows for future implementation of different permissions and granting certain users different levels of access as consumers or contributors.
Changing storage credentials
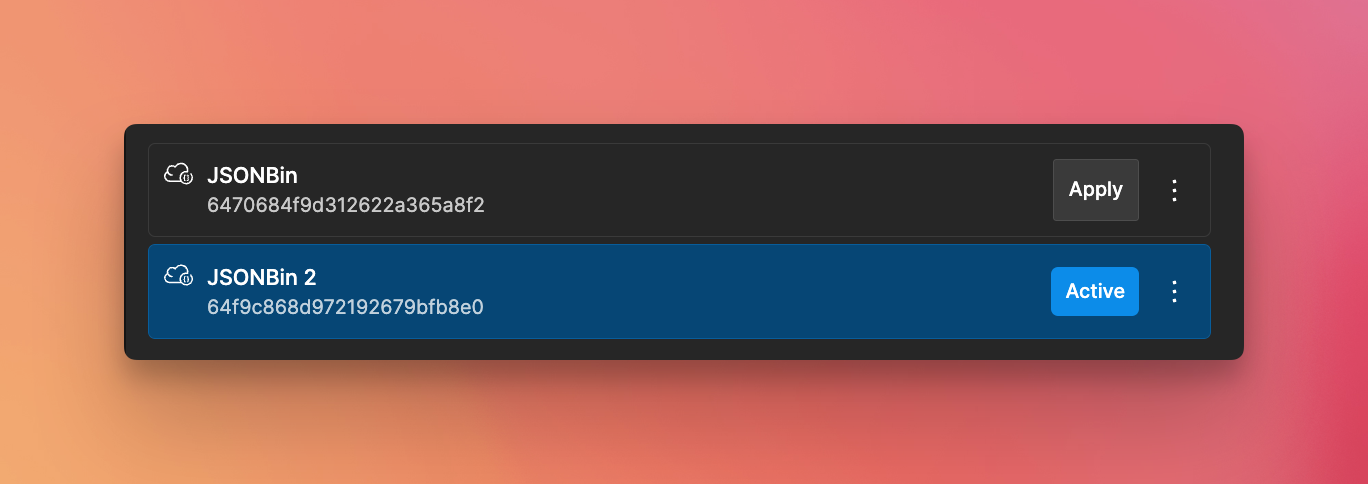
You can switch between different stored token bins at any time. To do so, create multiple provider items and click “Apply” to assign a specific token set to the current document.

Updating tokens
Whenever you make changes to a token, the remote storage will be automatically updated. There is currently no separate “Publish” process; changes are immediately reflected in the tokens.
Pulling changes
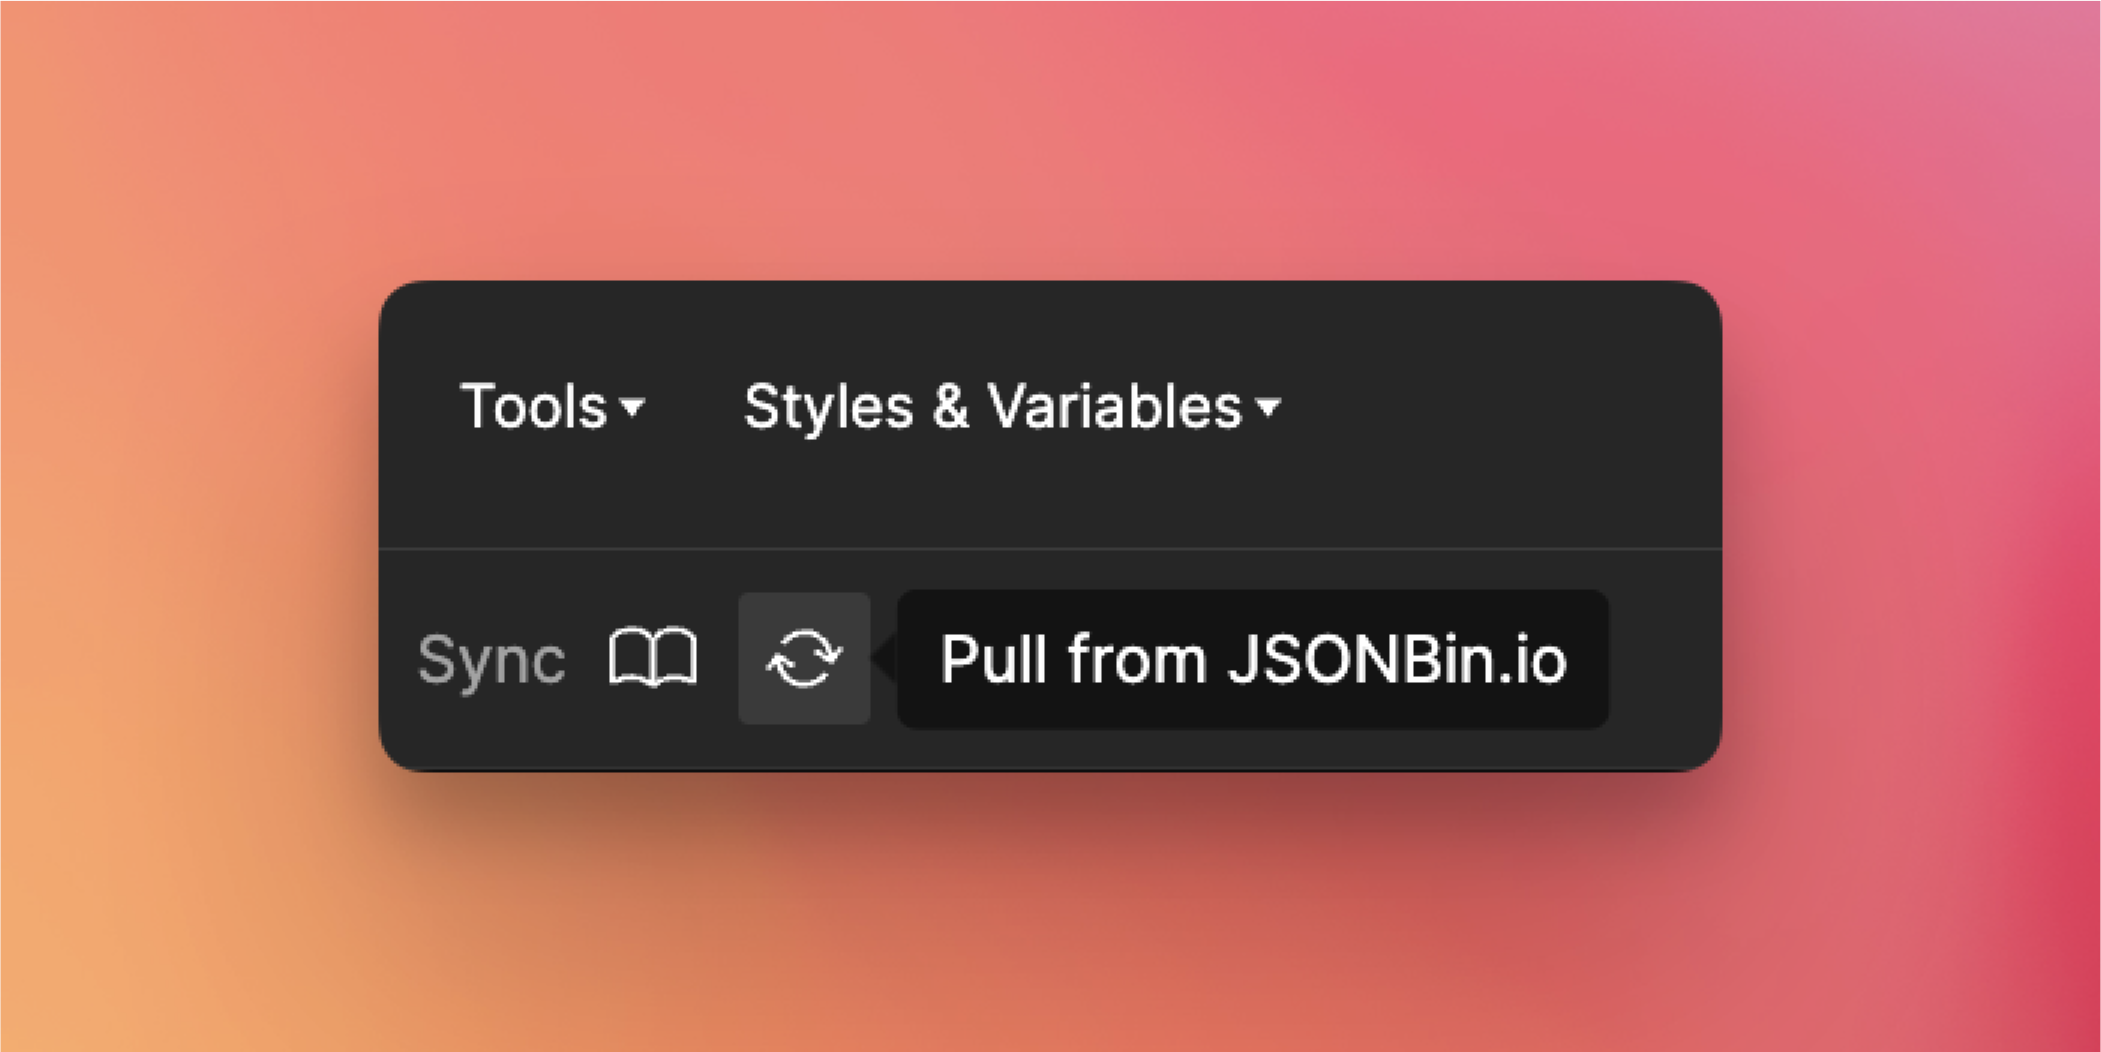
On startup, the plugin will automatically fetch the latest remote tokens. However, if your team has made changes while the plugin was open, you can pull the newest changes by clicking the Pull from JSONBin button located at the bottom-left of the plugin.

Pausing sync
By default, every token change triggers an update on your sync provider. However, you can pause this behavior by unchecking the Update remote option found in the bottom-right setting-icon menu of the plugin.

Read-only mode
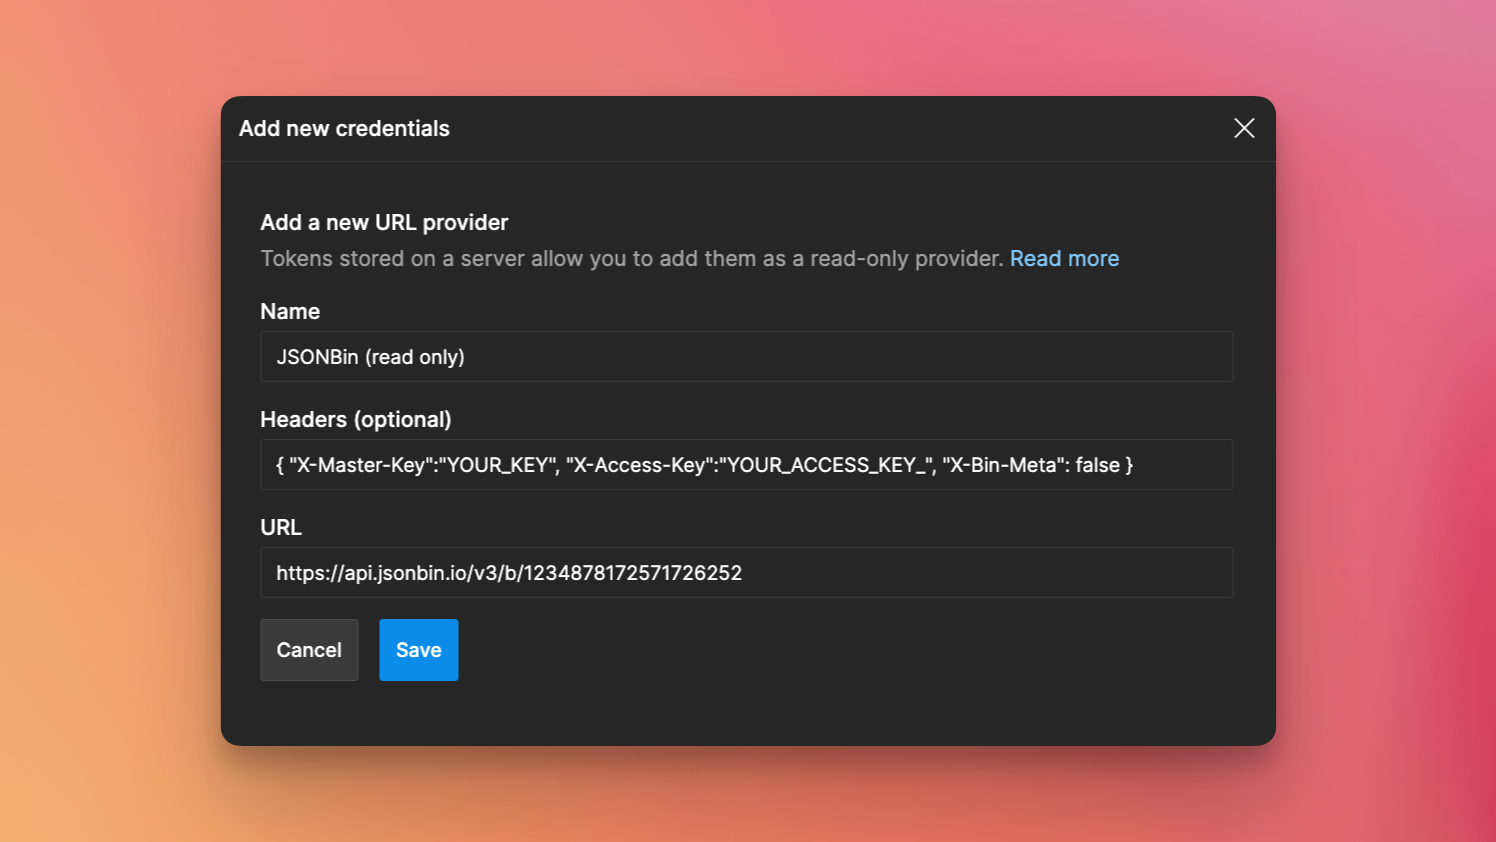
If you’d like some of your team members to only be able to Read tokens, not write, you can add JSONBin with the URL Sync option in the plugin. All you’ll need to do is add the URL for the bin, such as https://api.jsonbin.io/v3/b/1234878172571726252 and headers such as { "X-Master-Key":"YOUR_KEY", "X-Access-Key":"YOUR_ACCESS_KEY_", "X-Bin-Meta": false }. The important part is X-Bin-Meta: false, which is required for JSONBin to return only the tokens and not any metadata they store.
