URL Sync
The URL sync mode operates in a read-only mode, which means you cannot make direct changes within the plugin. Instead, you will need to modify the corresponding .json file stored on your server. For an example .json file, you can refer to the provided link to access a sample file.
To enable the Sync feature for your file, follow these steps in the plugin:
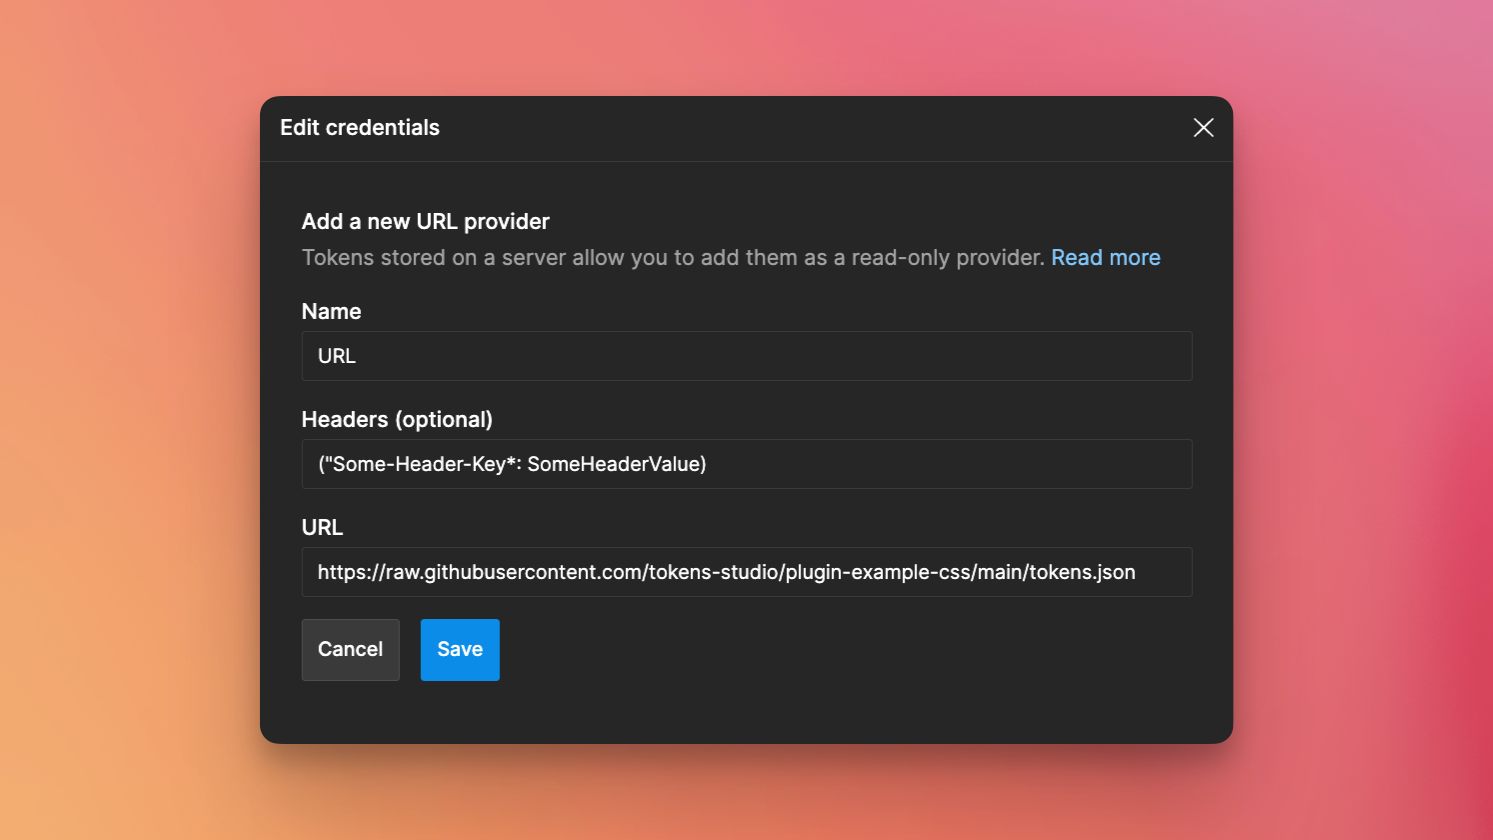
- Open the Settings tab and navigate to the Sync providers section.
- Click on the
Add newdropdown and chooseURLas your Sync Provider. - Enter a name for your credentials. NOTE: This does not concern your repository details at all, so you can also modify the name later if desired.
- If your server requires authentication, you can store the necessary Headers as a JSON object in the headers field. This allows you to provide any required authentication headers.
- It is important to ensure that your server’s .json file has the Access-Control-Allow-Origin header set to
*. If you need assistance with this, consult your engineers or refer to relevant documentation. - In the URL field, enter the complete URL that points to your .json file stored on your server.

Getting your team on board
After setting a storage provider on a document, the ID and name of the bin will be stored within that document. The Headers field is intentionally left blank, as each team member will need to add their own headers.
Pulling changes
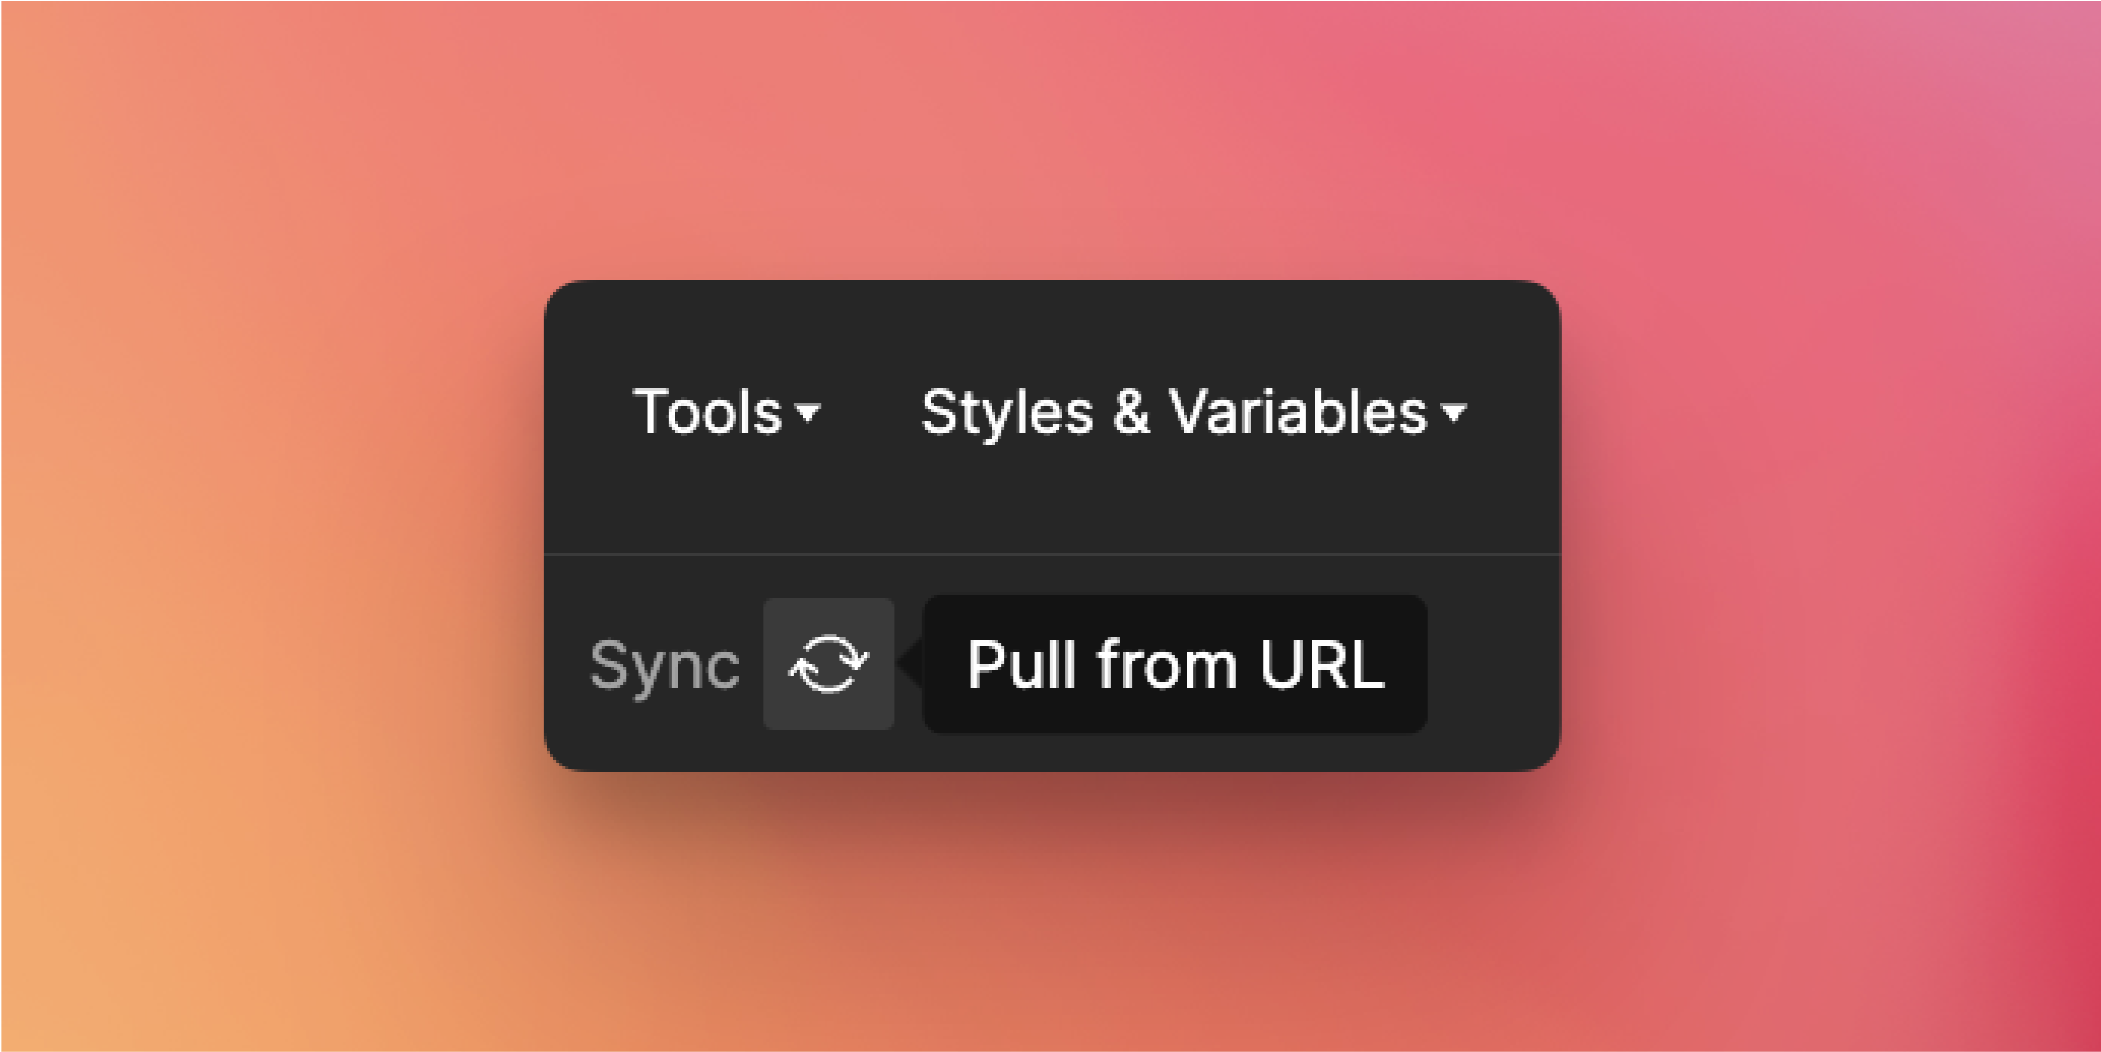
On startup, the plugin will automatically fetch the latest remote tokens. However, if your team has made changes while the plugin was open, you can pull the newest updates by clicking the Pull from URL button located at the bottom-left. This way, you can ensure that you have the most up-to-date token information from the remote source and synchronize any changes that occurred while the plugin was running.
